Thinking of jumping into the Odoo ecosystem but not sure where to start? Whether you're managing projects, handling sales, or streamlining finances with Odoo’s powerful Accounting features, this all-in-one business platform is designed to simplify your operations. But before you can automate invoices or track cash flow, it all begins with a proper subscription setup.
This guide walks you through each step—from accepting your invitation email to selecting your subscription plan—so you can unlock Odoo’s full potential without any hiccups. The subscription process is simple, but knowing what to expect upfront saves time and makes onboarding seamless. Ready to take control of your business? Let’s get started.
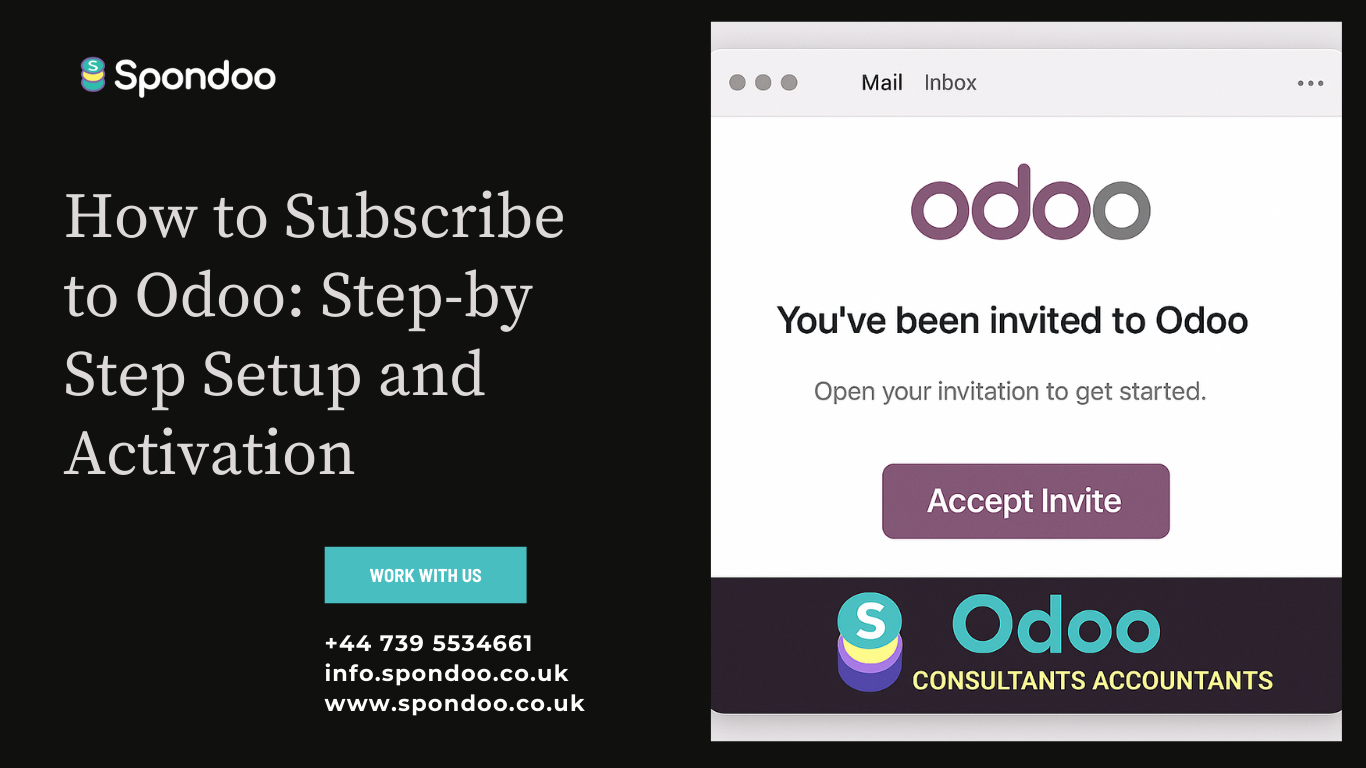
The very first step in subscribing to Odoo starts in your inbox. Once you’ve been invited to use Odoo by your organization or a team member, you’ll receive an email containing your personal invitation link.
Open the email and locate the "Accept Invite" button.
Click on the button to get redirected to the Odoo database sign-up page.
Your registered email ID will be auto-filled for convenience.
Create your account by entering your desired Password and Confirm Password.
This initial step is critical, as it connects you directly with the Odoo workspace intended for your organization. Be sure to check your spam or promotions folder if you don’t see the email immediately.
After signing up, the system will immediately direct you to your new Odoo environment, known as the Odoo database. This is your personalized workspace where all your tools, apps, and data will reside.
No separate login is required after sign-up.
You’ll land directly into your company’s Odoo system.
This is where all future configurations, customizations, and operations will be handled.
It’s essential to bookmark this page or save the login credentials for easy access in the future.
Once you’re inside the Odoo interface, it’s time to locate your subscription dashboard. This is where you’ll manage your billing preferences and plan details.
Locate your profile icon (top-right corner of the screen).
Click the profile icon to open the dropdown menu.
Select "My Subscription" from the list.
This section gives you insight into your current plan, renewal dates, and user count, and allows you to modify or upgrade your subscription as your needs evolve.
Depending on how you joined the platform, you might be asked to finalize your Odoo account setup separately. This step ensures full access and seamless integration across all Odoo modules.
Fill out the requested account information.
Make sure to use the same email address that you received the original invitation.
Submit the form to complete the sign-up process and account creation.
Using consistent email credentials is crucial to avoid errors and ensure your account links to the correct database. You’ll only need to do this once.
Now comes the final step—choosing the plan that suits your business needs. Odoo offers flexible pricing options tailored for businesses of all sizes.
Once your account is active, go to the subscription page.
Choose between a Monthly or Yearly plan.
Select the number of users you wish to include in your subscription.
Review the pricing and click “Buy Now” to complete the payment.
After completing payment, you’ll immediately gain full access to the platform, apps, and any additional services included in your chosen plan.
Let our expert team at Spondoo handle the setup, bookkeeping, compliance, and everything in between—so you can focus on growing your business.
👉 Get started with our Odoo Accounting Services today!